

In this article, I will share with you how to integrate your Next.js app with Umami web analytics. Umami is a free and open-source web analytics tool that is privacy-friendly and GDPR-compliant. It does not collect any personal information, does not use cookies, and does not track users across websites.
What is web analytics?
Web analytics is a tool that helps you track and measure website traffic and user behavior. It can provide insights into how people are finding your website, what pages they are visiting, and how long they are staying. Web analytics can also be used to track specific events, such as button clicks and form submissions.
Why Umami?
Umami is a free and open-source web analytics tool that is easy to use and provides powerful insights into your website traffic and user behavior. It is a privacy-friendly alternative to Google Analytics, as it does not collect any personal information, use cookies, or track users across websites. In this tutorial, we will use Nextjs, Umami, Vercel for deployment, and Supabase for database
Without further ado, let's go!

1. Create Supabse, Github, and Vercel account
To deploy Umami to Vercel, we first need to create a Vercel account. If you already have a GitHub account, you can use it to create your Supabase and Vercel accounts. We use Supabase to store our data
2. Create Database
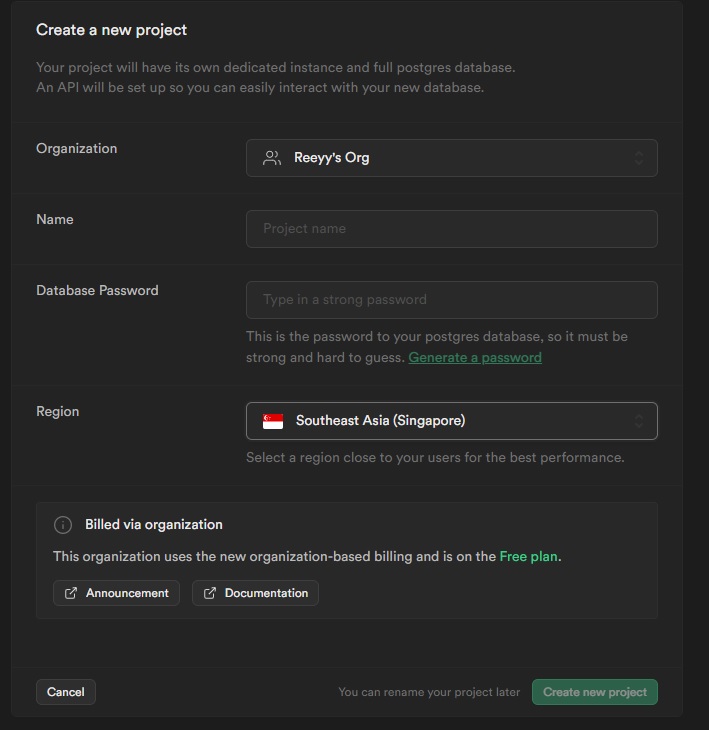
First, you need to Log in to your Supabase account and create a new project

Enter a name and database password for your project.
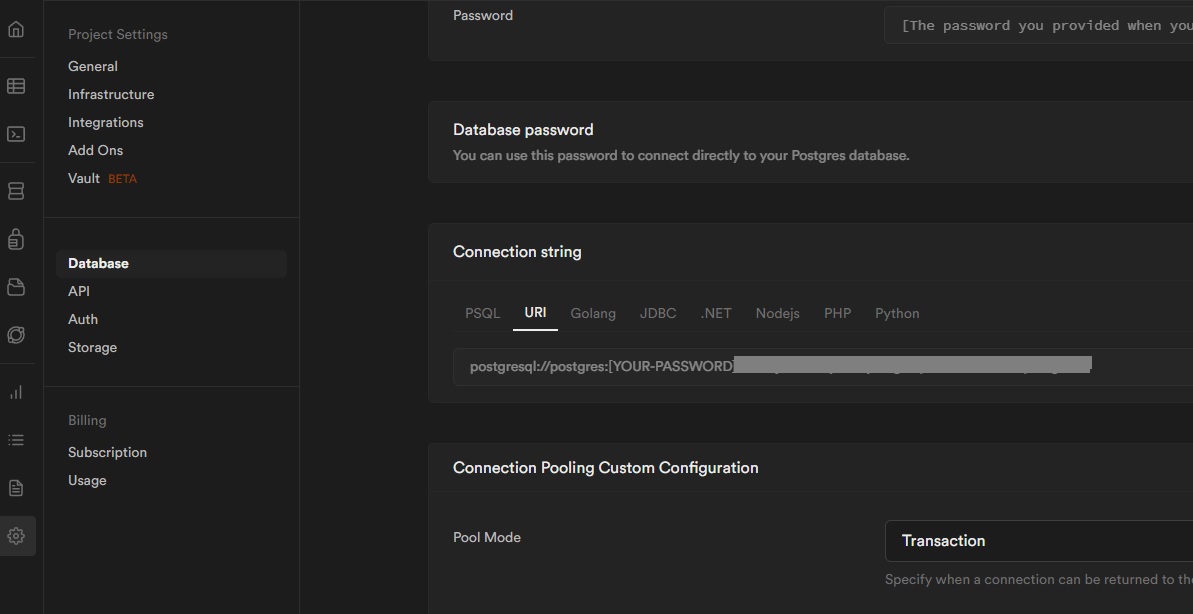
Click Settings > Database > Connection string and Copy the URI connection string. we need this later.
3. Setting up Umami and Deploying it on Vercel
Umami provides a hosted solution called Umami Cloud, but it has limits. To deploy Umami without limits, we will deploy it to Vercel.
For more detailed instructions, please refer to the Umami documentation: Running on Vercel here
1.Fork this repo
2.Login to Vercel
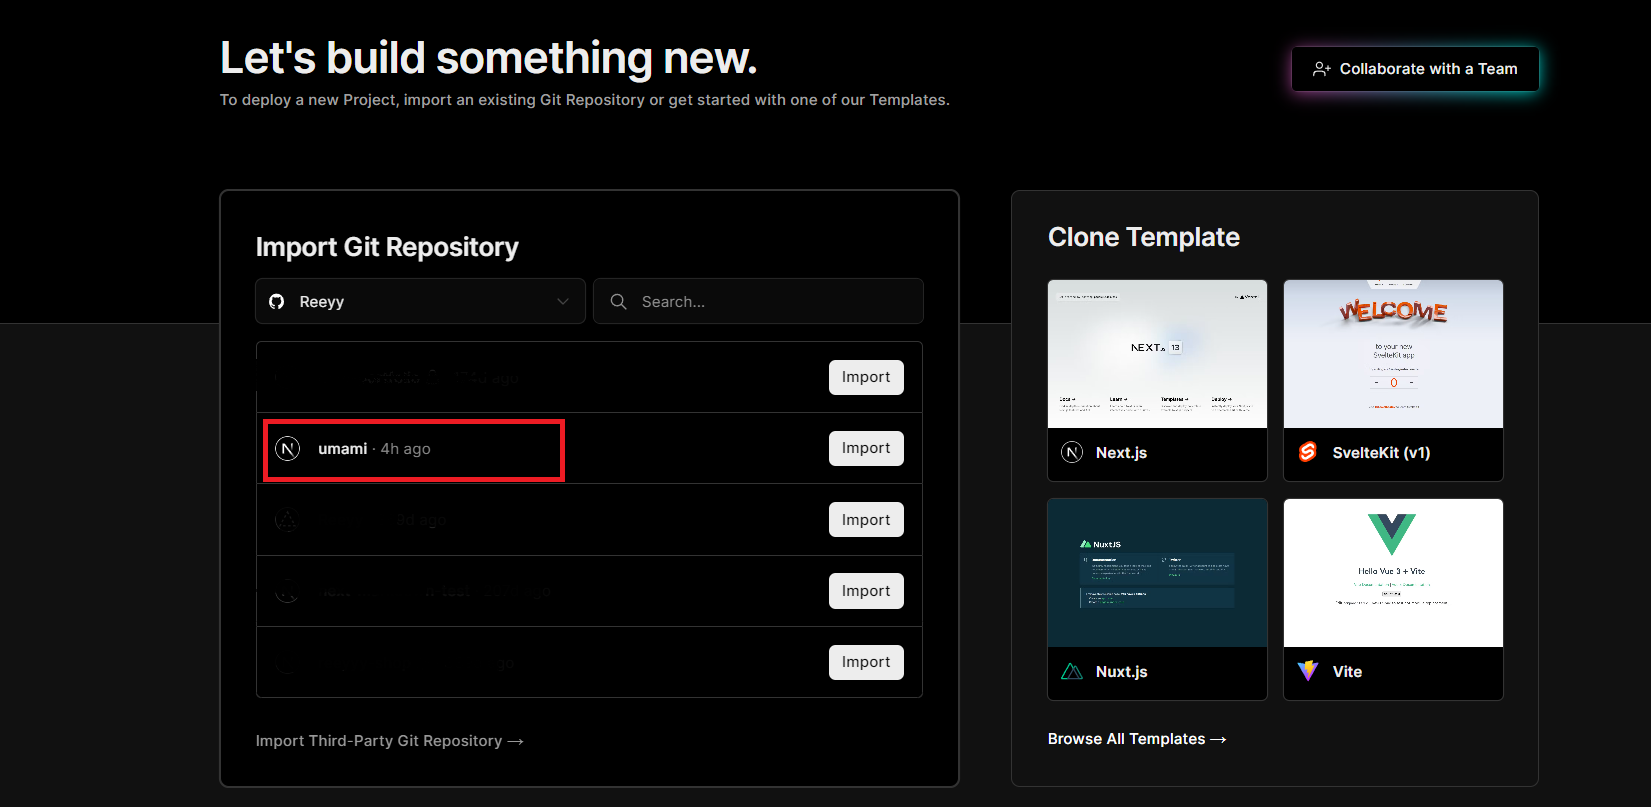
3.Add a new project and import the Repository
4.Configure Environment Variables
Copy the connection string you copied from Supabase to the DATABASE_URL environment variable. Replace [YOUR-PASSWORD] with your database password. For the HASH_SALT environment variable, generate a random string or you can use a password generator
Here is an example:
DATABASE_URL = postgresql://postgres:mypassword@db.blablabla
HASH_SALT = yourRandomString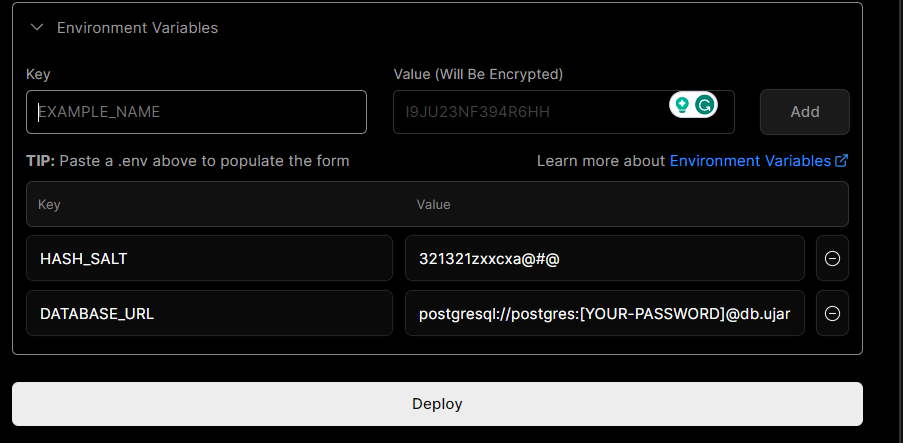
5.Click Deploy
6.Login Umami
Open the deployed Umami website and log in with the default id password: admin/umami. You can change the password later in the settings.
7.Add your website
Go to the Websites navigation menu and click the Add website button. Enter the name and URL of your website.
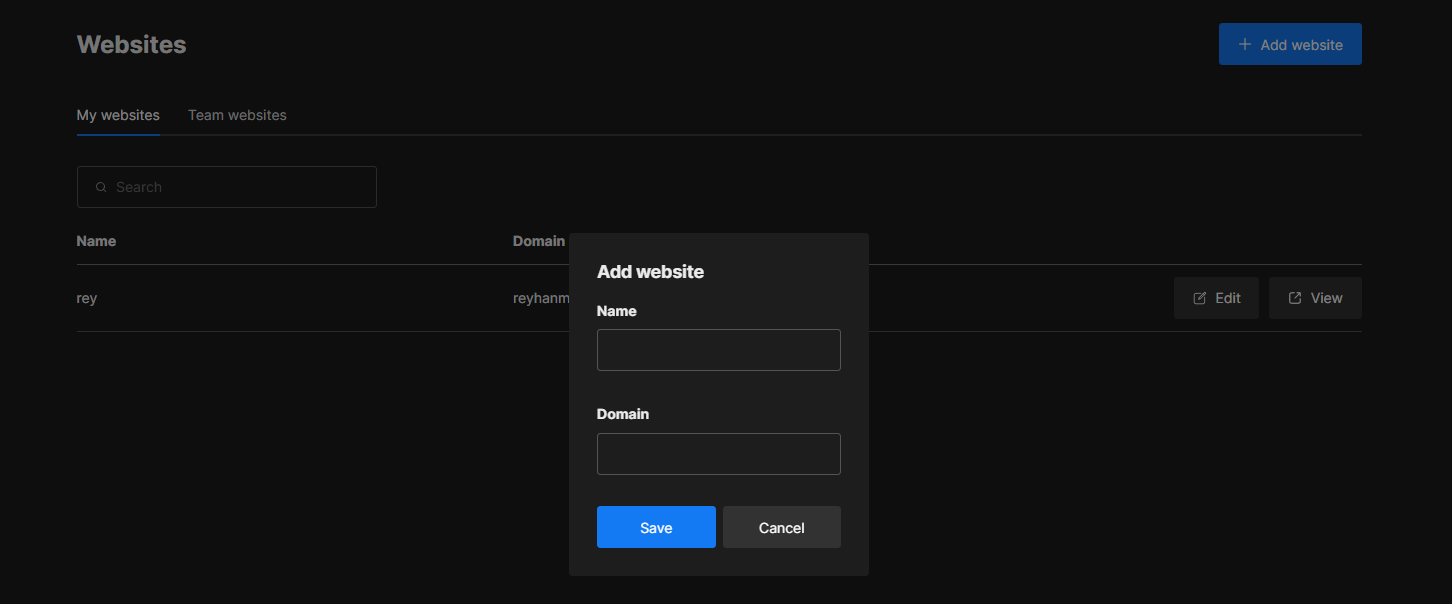
Go to edit and Tracking code copy the async script to your next js Project
For Next.js < 13, add the tracking code to the _document.tsx file
export default function Document() {
  return (
    <Html lang='en'>
      <Head />
    {/* copy you async script here  */}
      <body>
        <Main />
        <NextScript />
      </body>
    </Html>
  );
}
For Next.js 13, with the app directory, you can add code to the app/layout.tsx file
export default function RootLayout({
  children,
}: {
  children: React.ReactNode;
}) {
  return (
    <html lang='en'>
      {/* copy here  */}
      <body>{children}</body>
    </html>
  );
}
Congratulations! 🎉🎉 You have successfully integrated Umami into your website.
Don't forget to push the latest code to GitHub. You will be able to see your website analytics in the Umami dashboard within 24 hours.
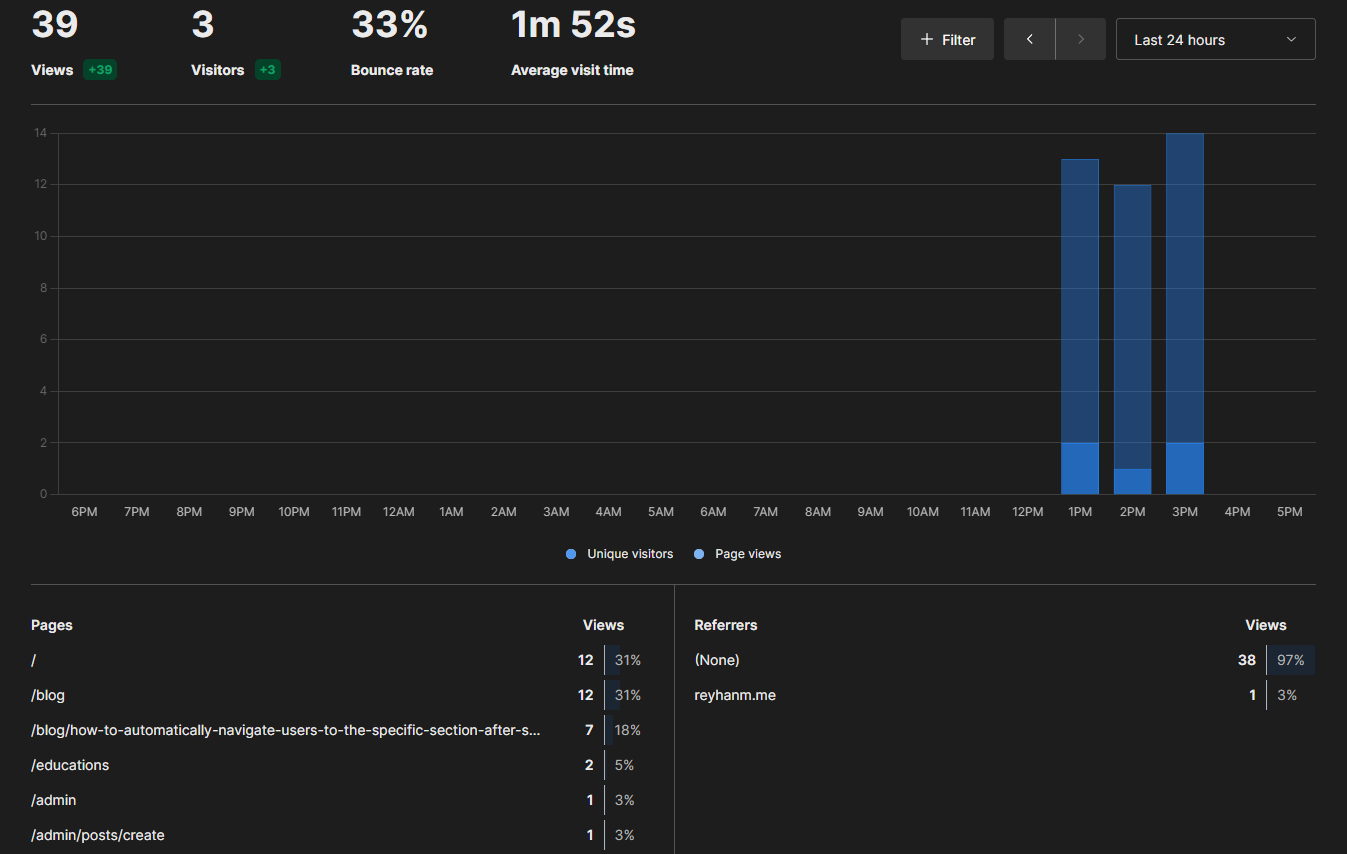
3. Track events
You can use Umami to track events on your website, such as button clicks and form submissions. This is optional, but it can provide valuable insights into how visitors are interacting with your website.To track events you can use data attributes, simply add data-umami-event attribute to the element you want to track. For example, to track clicks on a button, you would add the following attribute to the button element
<Button
size={'lg'}
className='bg-black dark:bg-primary dark:text-black text-white'
variant={'outline'}
data-umami-event={'Resume Button Clicked'}
>
Resume
</Button>